Wednesday, June 5, 2013

Exterior finish work Starts

Finally getting outside and working on siding.  It rains for about 3-4 days straight, 2 dry days, then rains again.  Very frustrating.  But we are working when we can, and working inside when its raining. 

I spent a nice sunny day working on the front porch.  I decided to use a tongue and groove cedar board for the soffit and cedar decking down below.  I wanted a pop of something natural, and love the look of natural cedar next to the black soffit, fascia, windows, and eventually slate tile on the wall.  It took most the day to install this with a friend, but it was fine, craftsman type work and we enjoyed it.  It makes quite a statement, and I am very happy with how it turned out.  I was very surprised with how square everything was in relation to the porch roof, columns, beams and the deck I built...no really, I was very surprised. 


 I left the cedar 4x18 beams exposed and hang out over the ends.  The columns are 4x6 treated posts, and we furred the out with treated 2x to the width of 1x12s to cover them.

 I put up cedar 1x12s to build out the look and size of the columns.  A light gets mounted on each column and shoots up and down to help enhance them and dramatize them at night.
Siding has started and continues as weather allows.  The front windows get trimmed out with 1x4 black LP Smartrim.  I like this product so far...we will see how it holds up over time. 

Have we died?

a month and a half since a last post...wow, had no idea it has been that long.  Well, we certainly have not stopped working on it.  This spring has been very wet, so we have been focusing on the inside and working on siding as we can get to it.  So lets focus on the inside...

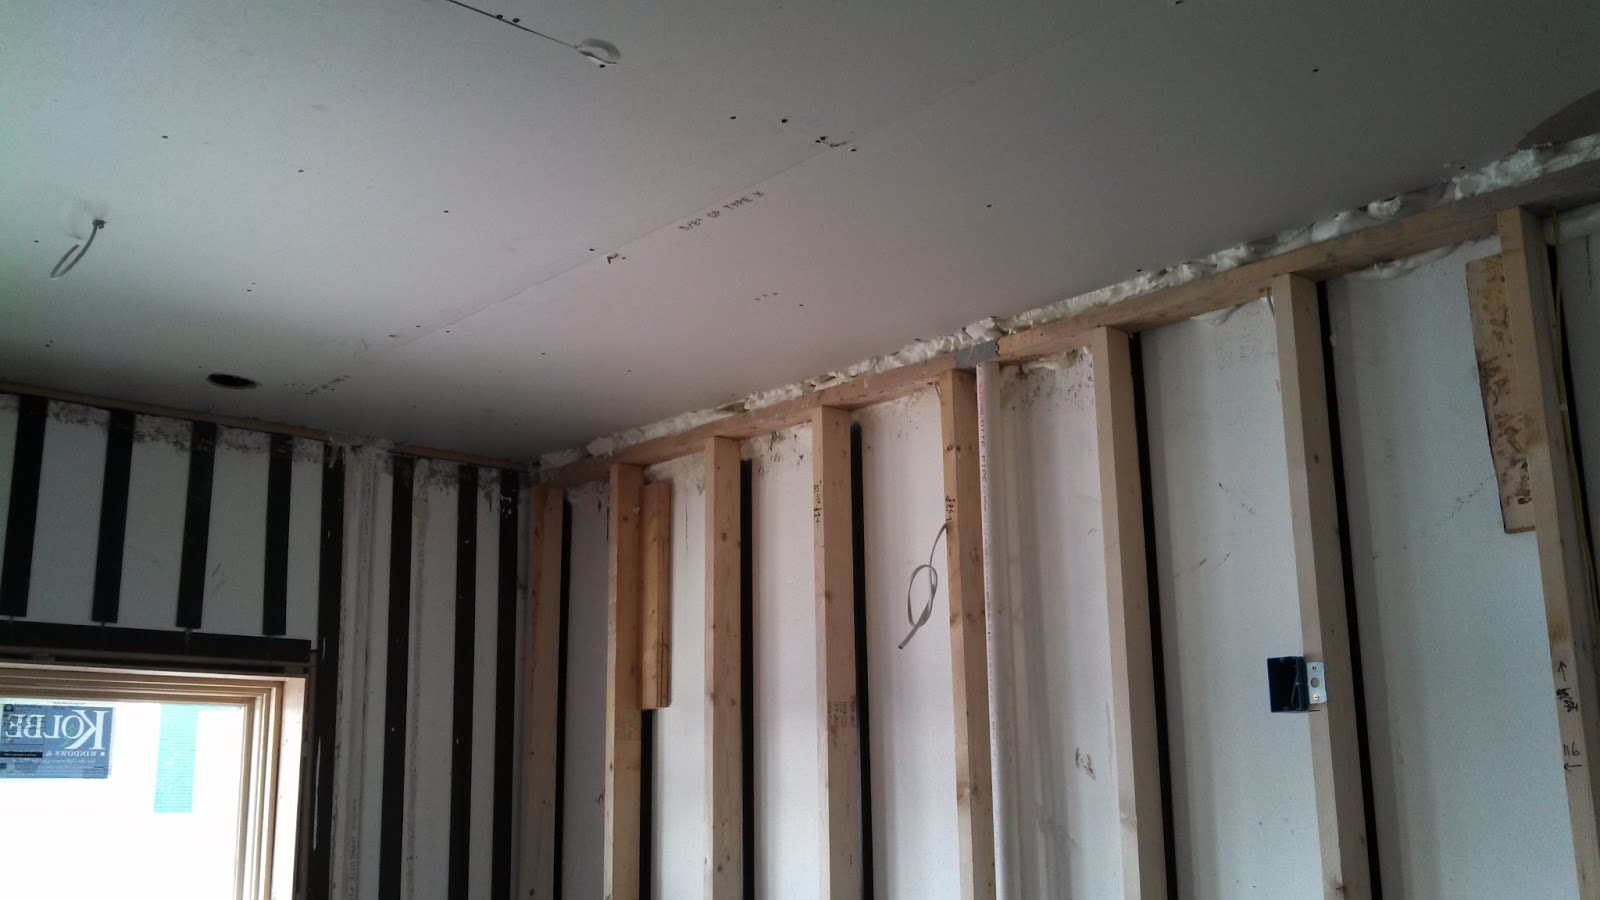
Since the last post, drywall went up.  We had issues here.  The hangers did not like the ICF.  They did not like how the screws went into the plastic.  They worked for a few hours and then walked off the job.  Unsure of their issue, I went out there that night and tried one.  And then another,  and another.  There was a difference between screwing into the wood and the plastic, but it was minimal.  I could hardly tell, so I decided to just start hanging until I found someone else to finish it.  I called up some friends and we hung the bedrooms and ceilings in a few days.  I was able to find a guy to hang the high walls and ceiling in the living room, luckily. 

Finishers came in and worked for about a week on it.  We went with a smooth finish.  I was evilly happy (is evilly a word?...) as they were complaining about moisture problems.  We had the furnace running at about 65 in March.  The house was too tight and the humidity was about 80%.  However, the triple pane windows never condensed even with it being below freezing outside!  This was a pain for them, but a victory for me.  I told them just to set up fans....

I do not  have many pictures of the drywall, because, well, its boring and I hate drywalling, so....

 Clerestory and living room ceiling getting drywalled

 I put up all green board in the bathrooms and behind sink locations

 These are 5/8" sheets, however they could have been 1/2" since they do not have any insulation load like the flat ceilings do.

 Took a second to peak out of the clerestory window for the view. 

 Master bedroom


I climbed up and installed the Solatube in the bathroom prior to the blown insulation being installed.  This thing puts out a ton of sunlight.  Everyone is impressed with it and loves the light.  However I constantly walk by the bathroom and think someone left the light and reach in there to turn off a switch...The bathroom is an interior room mind you, so you can see how much it lights up the space.  I wish I had a before and after picture. 

So let the painting begin!  I like a lot of things about construction, but my most hated list goes:  finishing drywall as the worse, hanging drywall, and painting is a 3rd worse for me.  Lucky for me, we get to prime and paint 9000 sqft of wall!  Some of it with 2 top coats.  Let the fun begin....
After doing some additional paint research, I decided to go with Valspar Signature paint instead of Sherwin Williams or something else.  We used it in our last house (not the signature line) but had good results, so decided to do it here.  I have to say, I was very impressed with the paint.  It went on really smooth and thick, and the lighter colors easily covered in 1 coat.  The dark colors covered as well, however there were minor roller marks so we did another coat of the dark colors.  Glad we did, it made the colors that much more vibrant.  I would recommend this paint to anyone that is for sure. A lot cheaper than Sherwin Williams as well. ( We actually used all SW paint decks and color cards to choose the colors, took them to Lowes, and they matched the RBG...shhhh).

Picture time:

 Working on the great room.  Went with SW Iron Ore for the back wall color. 

 Dining Room- SW Naval blue

 Master Bedroom- SW....can't remember...

 Looking into the master bathroom

 Master bathroom

 laundry room


I am inspecting the working being done...

 Dining and entry getting painted

 North wall/kitchen

 Main bathroom- went with a 2 tone paint.  I continued the blue onto the ceiling as well.

 
Despite all of the work, there is always time to bust a move.
 
Lets jump ahead some more!  Electricians started installing fixtures:
 
 
 Looking at the clerestory painted in the same paint as the master bathroom.  I sealed the beam, and I really like how it turned out.

 The door getting painted.  Went with the Iron Ore on this wall and the green again from the bathroom.  (the blue is painters tape...)


The ceiling, the lights, the FAN.  People spend a lot of money on chandeliers or fancy lights...we went with a fancy fan.  Interestingly enough, everyone comments on the fan.  Its a 72" Tier 3 Energy Star fan.  This thing puts out some serious air movement and is super quiet.  Its a cool fan.
The ceiling is also painted the same color as the wall....


I cut a hole for the first speaker in the kitchen ceiling.  You can see the boxes I installed and how the foam sealed everything very nicely. 


Started tiling in the main bathroom.  I put down the Kerdi membrane on the subfloor.  Went down much faster than concrete board, that is for sure.

 Installed the tile.  These are Daltile Fabrique in 12x24 size, color is Blanc Linen.  Love this tile. 


 Installed the floating vanity and toilet. 

 
nearly completed restroom- still needs base board trim and the trim that goes on the paint line...then 1 room done!


Doors showed up.  Went with a 5 panel shaker style solid core molded door.  these are heavier than they look.  Love the way these doors look. 


Sunday, April 14, 2013

Spray foam and attic seal

Now anyone who knows me knows I typically do not recommend spray foams for wall and roof insulation if other methods can be had.  This is an example of a good application however.  While other methods could be had to foam the rafters in the great room and dining room, they would have ultimately taken a lot more time and work and been a cost wash anyway.  The foam most likely will have sealed it all up better anyway.  That is what lead me to decide to foam the rafters.  I went with an open cell foam instead of closed cell.  I had the depth in the 14" ijoist to obtain the r value I was after.  Code allows vaults to be below the r value of 49 code min.  However I still wanted the full value.  The foam in the vault still gets be around an r50 and an r49 in the dining room.  I went with the open cell in the 2x6 walls as well since the surface area was fairly small, they had the foam rig on site, and they barely charged me anything for it.  Otherwise I would have gone with net and blown fiberglass.  It still has 2" of XPS on the exterior.  Speaking of...I never got around to taping the foam off.  With the snow starting to melt, it was actually leaking down into the house since it was getting behind the foam.  I climbed up there and taped it off real good.  I used a 3M all weather flashing tape, 4" wide.  This stuff is great.  It sticks extremely well to foam and about anything.  It was also about 25 degrees the day I did it.  I also am using it around all of the windows. 


Here is the spray foam in the rafters.  We still need to get gyp up on the knee wall to the right so they can come back and foam the back side of that wall.

Foam in the clerestory.

 Here are the speaker boxes.  You can see how the foam fills up around them good and even comes out of the hole with the wire.  This will allow me to cut in the speakers later easily without any air leaks in my walls.

This is the box cut into the opposite wall.  They foamed the back side of this wall (garage truss wall over the kitchen).  Again, you can see how the foam fills every tiny hole.


I went around and foamed all of the electrical boxes in place as well as the wires.  The foam later got shaved off flush with the ICF.
 
 
 Above is a short video of them foaming.  I had my phone turned sideways to get a fuller view...guess I didn't think about that when I pulled it from my camera.  Just turn your head to watch it!


Here is the attic seal.  As you can see, I skipped ahead some to after the gyp was hung here in the pictures.  They start by installing the attic baffles.  They put a small piece of batt in there to hold it in place.  They then foam from the ceiling up, over the top plates and over the baffle.  This holds it to the roof and prevents any air wind washing the blown insulation. 
 

A view along a top of a wall.  They foam all wall connections, electrical boxes, pipes, etc.

I found a small spot they missed.  I got filled it with a shot of can foam.
 Here is one of the speaker boxes from above.  They foamed around the entire box.

 This is above the kitchen looking at the back side of the truss wall where they foamed 7" of open cell on that wall.  I had them go over the truss ends to create a thermal break at that wall since it does not have the XPS on the cold side like the others do.


 Here is the below view of the kitchen.  You can see how the foam fills in down around the gaps in the ceiling.  This was shaved flush before the drywall was finished.
 Foam filling in around electrical penetrations.
 Found one they missed.  They actually shot it, but it didn't fill all of the sides.  Again, I gave it a shot of can foam and problem solved.