Monday, January 21, 2013

Windows and Doors installed

The temps outside are really starting to drop as we head through January.  Glad we are finally getting it enclosed.  We worked on installing the windows over the last week.  Despite the size, they installed very easily. 

We went ahead and installed the monster 8x7 front window. Took 4 guys and it was still a strain. One thing I noticed however was how sturdy this large window was. It did not flex, bow or anything when we were trying to move it around. obviously we were being very careful, but I would have assumed, with the vertical and horizontal mulls combined with the size and weight it would flex some. But it was very solid; well built. We loaded it onto a boom fork lift and drove it into place. It installed very easy (once we got it there). Shimming was a piece of cake, even given its size. The unit was perfectly square. installing it into the ICF made a difference as well as it is very strong without any flex, give, or bounce you sometimes have in wood construction. Very happy about that.
 
Here it is in its place. 8' wide by 7' tall. fixed uppers and 2' tall awnings below. All triple pane. We installed it early because the front porch has big posts that come down. With the posts in place, we would not have been able to boom it into place, so it went in now.


Here is the inside view of it. 


Here are some views with the rest of the windows installed:
looking at the dining, front entry area, and the first bedroom far right.

 
Looking up at the clerestory:
 
 
Looking at the kitchen area
 

Looking at the living room windows.  A floor to ceiling fireplace will go between the windows.


Windows arrived! But....

Well the last several years of agony, research, and fights with the wife (ok not fights, rather me talking and her getting mad since we "already talked about this so many times and I just don't care!")
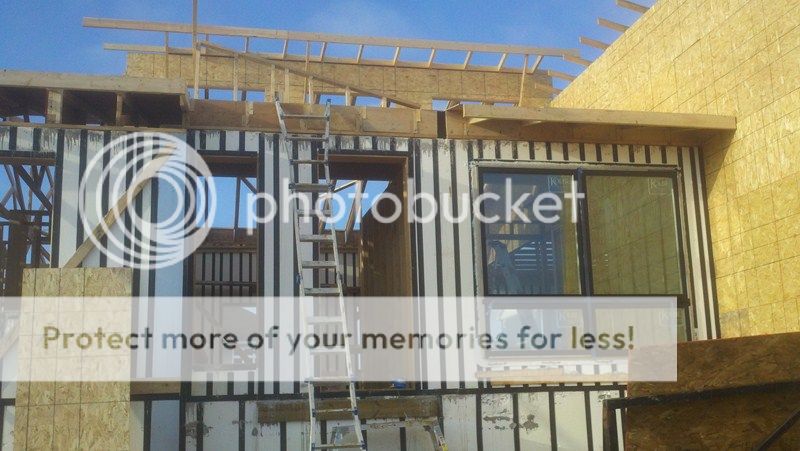
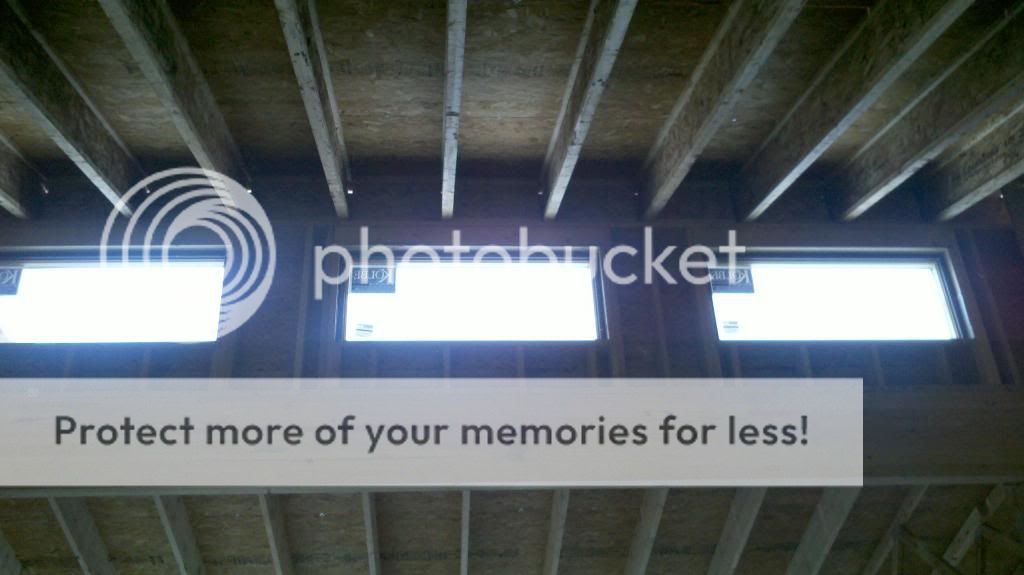
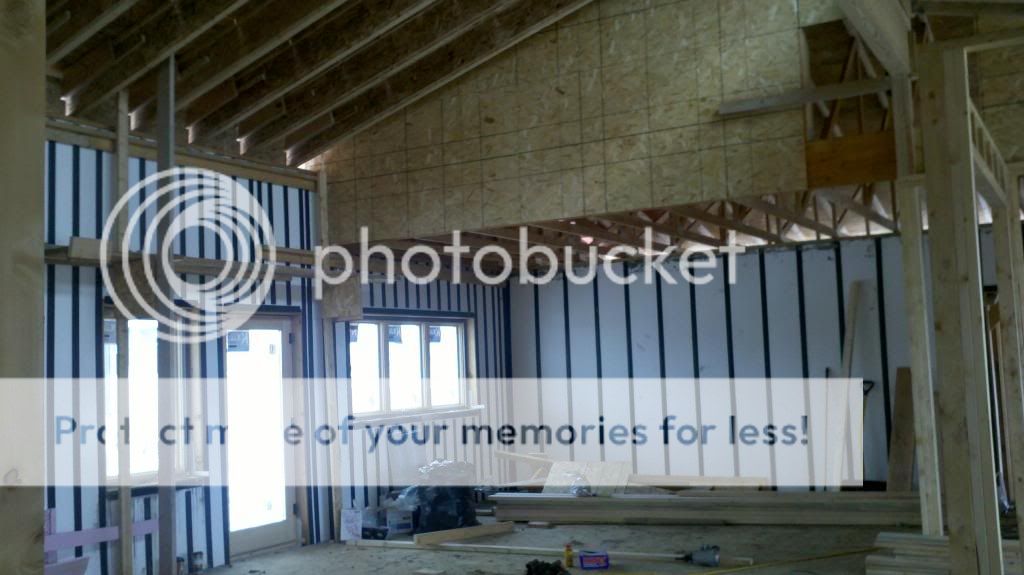
is finally to an end.  The windows arrived today.  Feel free to comb through previous posts on window selection, but the important thing at this point is I settled on Kolbe and Kolbe Ultra EP (true 1 3/8" triple pane) windows.  The rep and local salesman was great to work with, and put up with my many tweaks and changes.

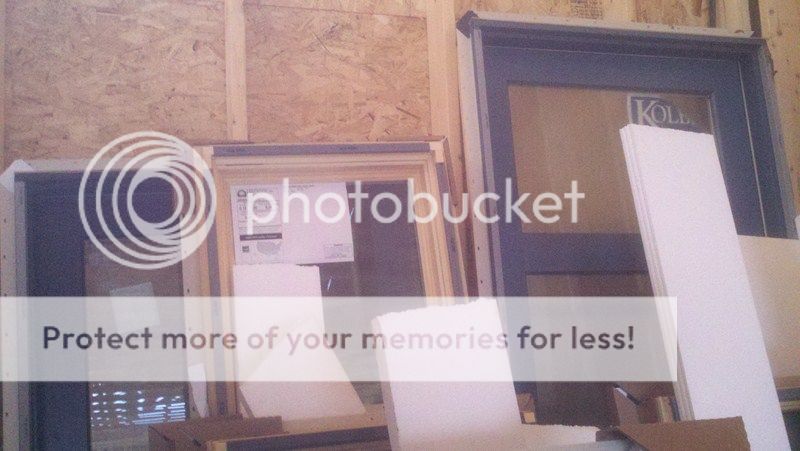
The package showed up on a truck for us to unload. I was a little surprised they came not wrapped in plastic like most do, rather just cardboard corners.
My front dining window (the one shown installed) did come with straps attached to it for easier carrying. In fact without them, carrying would be near impossible. It weighs close to 300 lbs.
Here are the windows in the garage. Black frames. They look fantastic.


Their glass options are nearly endless, which was one of the main reasons I went with them.  However, just because they are endless, does not mean they will be made that way.

So comes the first issue with them.  For those of you following glass selection and why would know the issue looking at the sticker.  Hint, this is one of my south windows. 

While the u value is impressive for an aluminum wood clad window, the SHGC number is about half of what it should be.  The south windows should have had 180/180 glass combinations, while the north has 270/180 combinations.  The order sheet submitted by the local salesman was correct, but the factory did not make them that way for whatever reasons.  They sent all 270/180 glass in all windows. 
A quick call to the rep and they are working on fixing the issue.  They will come down with the correct glass and change them out to resolve the issue.  I am confident it will get taken care of without issue, however I will update if anything arises from it.

Below is the tag on the large fixed dining room window.  While the u value is quite good indeed, the SHGC again should be about 2x what it is.  The u will suffer slightly and probably bump up to around .21, but the heat gain bump is well worth it. 

 
The front door, one of the coolest parts on the house for us, turned out to not disappoint in any way (as of yet).  It looks just as good as we hoped, and already got several comments from the guys helping me unload as well as the delivery man.  Doors like this are not too common, so we are pretty excited to have found it.  Cost wise, it was really no more than others we were looking at. 
The blue color is a little off in the picture, but it is about a perfect grey-blue color.  It is a Kolbe Ultra clad door, 3'x8' tall with a 4 panel frosted glass design. 


Trusses and interior framing going

Brought in some help to set trusses and speed up getting the roof on.  Cold weather and weekend work with friends and family does not go very far when doing a new complete roof.  We decided to hire out the work of setting trusses, installing sheathing and roof covering.

 After the garage framing was completed and the walls sheathed, they started setting the mono slope trusses over the garage. 


In the mean time, me and some friends worked on framing the interior walls.  We got them all up in a weekend for the most part.   Looking at the dining room below


This is the clerestory wall framed and ready to be lifted into place after the glulam beam is set.


We framed the back side of the mono slope trusses since this is technically an exterior wall in the great room.  Spray foam will be used on the back side of the sheathing to insulate it and seal it up.
Similarly, we sheathed the large wall by the stairs since this is also an exterior wall (attic space, same as the garage trusses).


After that was completed, they started on the west end working towards the center setting the gable trusses.  They set the 6x19 architectural glulam, followed by the clerestory wall that was sitting on the floor. 


The clerestory is framed sitting on the glulam (stays exposed and will get stained) with 14" TJI joists.  These are deeper than structurally needed, however I selected this depth to allow for 14" of insulation.  These will later get spray foamed to seal up the roof and allow it to not be vented.


The exterior sheathed wall and the exterior of the clerestory wall also received exterior XPS foam to help seal it up and create a thermal break.  This will be foamed and taped prior to furring strips and siding installed.